
Color Correction for UGC Beginners: Consistent Looks Across Every Video
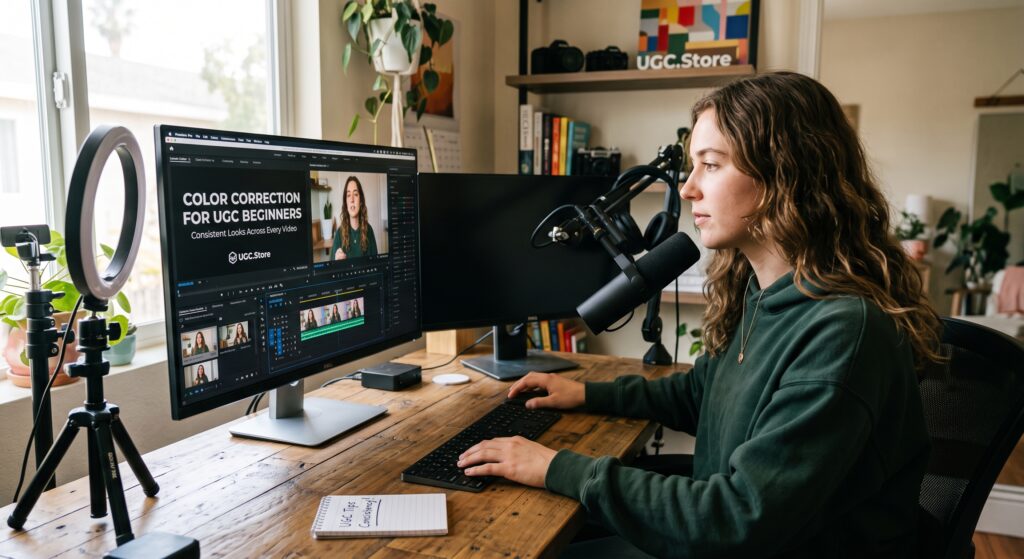
You film five videos in one week. Monday’s clip is warm and golden because the sun was setting. Wednesday’s footage looks cold and blue because you filmed near a window. Friday’s video is somehow green because of the fluorescent lights in your kitchen. When a brand scrolls through your UGC.Store portfolio, they do not see a professional creator. They see a rainbow of mismatched tones that screams amateur.
Color inconsistency is the silent killer of beginner portfolios. It happens to every new UGC Creator who relies on auto-settings and hopes for the best. The good news is that you do not need a film degree, a $3,000 camera, or hours in DaVinci Resolve to fix it. You need five minutes, a free mobile editing app, and a simple repeatable system that makes every video in your portfolio look like it came from the same creator. This guide is that system.
“I used to think color correction was for cinematic YouTubers with expensive gear. Then a brand told me my portfolio looked like five different people filmed it. I spent one afternoon learning the basics in CapCut, created a preset, and applied it to every video. My inquiry rate doubled the next month because my work finally looked professional and consistent.”
— Dana L., UGC Creator (Home & Lifestyle), $5.5K/month
Why Color Consistency Matters More Than Perfect Lighting
Brands hire UGC Creators for authenticity, but they pay professionals for consistency. When a marketing manager opens your portfolio, they are not just judging your energy or your hook. They are subconsciously measuring whether you can deliver content that matches their brand aesthetic across multiple campaigns. A portfolio where every video has a different color temperature signals chaos. A portfolio with unified, clean color grading signals reliability.
Consistency also builds trust with the viewer. When someone sees your video in their feed, their brain registers the look before they register the words. If your colors are clean and natural, the viewer focuses on the product. If your colors are orange, blue, or muddy, the viewer focuses on the mistake. In UGC Content, the product should always be the star. Color correction simply removes the distractions that steal the spotlight.
The Three Color Problems Every Beginner Faces
Before you fix anything, you need to name the enemy. Here are the three color disasters that destroy beginner UGC portfolios:
The Orange Cast. Filming under warm indoor bulbs without adjusting white balance turns your skin pumpkin-colored and makes the product look cheap. This is the most common problem for evening creators.
The Blue Window Chill. Natural daylight from a window is beautiful, but if your camera auto-white balance locks onto the warm interior, the window side of your face turns icy blue while the rest of the frame looks normal. The result is a two-tone creator that distracts from the message.
The Green Fluorescent Glow. Overhead fluorescent or cheap LED bulbs add a sickly green tint to skin tones. Nothing says unprofessional like a creator who looks seasick while reviewing a skincare serum.
Each of these problems takes less than 60 seconds to fix in editing. But first, you need to stop them from happening at the source.
Phone Settings That Fix Color Before You Edit
The best color correction is the one you do not need. Your phone wants to help, but its auto-settings are guessing what you want based on the entire frame. That guess changes every time you move. Lock your settings before you hit record.
Lock Exposure and Focus. On iPhone, tap and hold the screen until you see AE/AF Lock. On Android, use your native camera app’s lock feature or a third-party app like Open Camera. This prevents your phone from brightening or darkening the shot mid-sentence.
Set White Balance Manually. If your camera app allows manual white balance, use it. Otherwise, hold up a white sheet of paper in your filming light and let the camera auto-balance on that paper. Then lock the exposure. This gives you a neutral starting point that stays consistent for the entire filming session.
Film at the Same Time of Day. If you batch film, pick one time slot and stick to it. The color of natural light changes dramatically between 9 AM and 5 PM. Filming everything during your golden hour eliminates half your editing work before you even open the app.
The 5-Slider Color Fix
You do not need to understand color wheels or curves. Every mobile editing app — CapCut, InShot, VN, even Instagram’s native editor — gives you five sliders that solve 90% of beginner color problems. Here is exactly how to use them.
Exposure. This is brightness. If your face looks like a shadow or a blown-out blob, adjust this first. Aim for skin tones that look natural, not glowing. A good rule: you should be able to see detail in both the highlights of your forehead and the shadows under your chin.
Temperature. This slider moves between blue (cool) and orange (warm). If you filmed under warm bulbs, slide toward blue until your skin looks human again. If you filmed in shade and look like a smurf, slide toward orange. Trust your eyes, not the numbers.
Tint. This slider moves between green and magenta. Fluorescent lights add green, so slide toward magenta to cancel it out. If your skin looks sunburned or overly pink, slide slightly toward green. Most beginners ignore this slider, but it is the secret to skin that looks alive rather than plastic.
Contrast. This separates your lights and darks. Too little contrast and your video looks flat and lifeless. Too much and you look like a comic book character. For UGC, slightly lower contrast often looks more authentic and skin-friendly than high contrast.
Saturation. This controls color intensity. Most phones oversaturate by default. Dialing saturation back by 5–15% often makes UGC Content look more premium and less like a phone commercial. The exception: if you are filming food, beauty products, or fashion, you may want to keep saturation slightly higher so the product pops.
| Common Problem | Temperature Fix | Tint Fix | Extra Note |
|---|---|---|---|
| Orange indoor skin | Slide toward cool (-15 to -30) | Keep neutral | Lower saturation slightly |
| Blue window cast | Slide toward warm (+15 to +25) | Add tiny magenta (+5) | Check product color accuracy |
| Green fluorescent | Keep neutral | Slide toward magenta (+10 to +20) | Increase contrast to cut flatness |
| Dark and muddy | Raise exposure first, then contrast (+10) | Neutral | Add slight warmth for life |
How to Build Your Signature Preset
Once you dial in the perfect look for one video, save it as a preset. This is the single most important habit for portfolio consistency. In CapCut, this is called a Filter or Adjustment preset. In InShot, it is a Saved Edit. The name does not matter. What matters is that you can apply your exact color signature to every future video in one tap.
Step 1: Edit one representative video from your latest batch. Use the five sliders above until the colors look clean, natural, and professional.
Step 2: Save the adjustment as a preset. Name it something you will remember, like UGC Clean 2026 or My Brand Look.
Step 3: Import your next video, apply the preset, and then make minor tweaks if the filming conditions were different. The preset gets you 90% of the way there. The final 10% is a 10-second manual adjustment.
Over time, your preset becomes your visual trademark. Brands will start to recognize your work before they even see your name. That is the mark of a creator who treats UGC as a business, not a hobby.
Batch Editing: Apply Your Look to 10 Videos in 2 Minutes
Professional UGC Creators do not color-correct videos one by one. They batch process. If you filmed five mock videos or three client deliverables in one session, they likely share the same lighting conditions. Edit the first video, save the preset, and apply it to the entire batch.
In CapCut, you can copy the adjustments from one clip and paste them to another. In VN, you can save a project template. Even if your app does not support true batch processing, the preset method means each video takes 15 seconds instead of 5 minutes. When you are producing ten videos per week, that time saving adds up to hours you can reinvest into pitching brands or filming more content.
When to Use Auto-Correction vs Manual Tweaks
Modern editing apps offer AI auto-color features that analyze your footage and apply corrections with one tap. These are genuinely useful, but they are not magic. Use auto-correction as your starting point, not your finish line.
Use auto-correction when: You filmed in consistent natural light, your exposure is already decent, and you need a quick polish for a batch of similar clips.
Switch to manual when: Your lighting was mixed, your skin looks weirdly pink or green after auto-fix, or the product color does not match reality. A skincare brand will reject your video if their white cream looks yellow. A food brand will be furious if their red sauce looks brown. Manual control protects you from these expensive mistakes.
Always do a final product check before exporting. Look at the item you are reviewing. Does its color match what you see in real life? If not, your white balance is still off, and you need to fix it before the brand sees it.
The Portfolio Consistency Test
Before you upload any video to your UGC.Store portfolio, run it through this five-second test. Open your portfolio page and scroll through your thumbnails. Does every video look like it belongs to the same creator? Or does each thumbnail look like it was filmed by a different person in a different decade?
If you see inconsistency, do not panic. Apply your saved preset to the outliers, re-export, and re-upload. This 10-minute cleanup session can transform how brands perceive your entire body of work. Remember: on a UGC Marketplace, your portfolio is your storefront. You would not open a shop with mismatched signage and crooked shelves. Do not present a portfolio with mismatched colors and random exposure.
- [ ] I locked exposure and white balance before filming
- [ ] I applied my signature preset to every video in the batch
- [ ] Skin tones look natural across all clips
- [ ] Product colors match reality
- [ ] Exposure is consistent — no dark blobs or blown-out faces
- [ ] Saturation is subtle, not aggressive
- [ ] The portfolio scroll looks cohesive and professional
Color Is Your Silent Business Card
You do not need perfect lighting. You do not need a cinema camera. You do not need to spend hours color grading. You need one preset, five sliders, and the discipline to apply them to every piece of UGC Content you create. When your colors are consistent, brands stop seeing a beginner with a phone. They see a professional creator with a recognizable look.
That consistency is what turns a one-time gig into a retainer. It is what makes a brand save your profile and come back the next time they need content. It is what separates hobbyists from the UGC Creators who build five-figure freelance businesses.
Update your portfolio with consistent color on UGC.Store and give brands the professional first impression they are willing to pay for.
